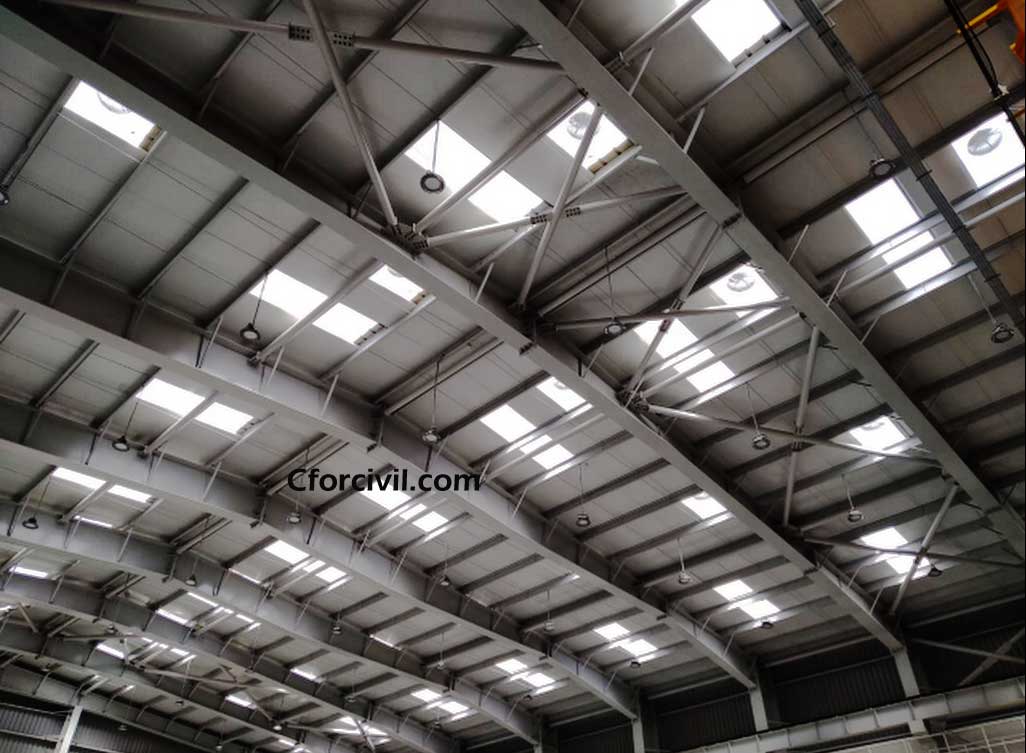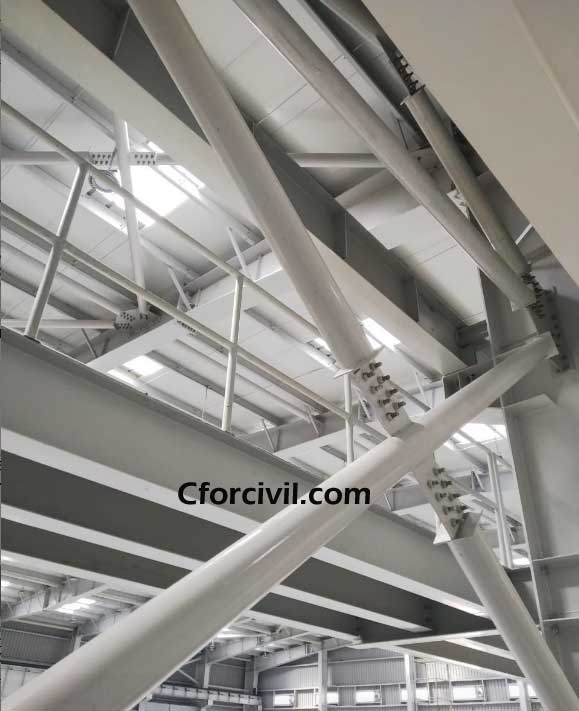
The IDENTIFICATION OF FLAWS IN PEB USING DPT TEST are discuss in this post. The use of PEB is highly economical and Eco friendly. By the application of this we can save the natural resources. It has numerous advantages.

IDENTIFICATION OF FLAWS IN PEB USING DPT TEST
The joining and fixing of I-shape members makes as I-beams and columns. These forms by welding the steel plates together. And connects through bolts. And forms an entire frame of the Pre-engineered building. It reduces the Construction cost and time of Mass buildings and Heavy structures. The Welding is the major connection of members. The welding makes to connect the member strongly. It should be free from all the Defects.
To confirm the proper welding connections in the members to form a strong Connection many tests performs like, DPT,etc.

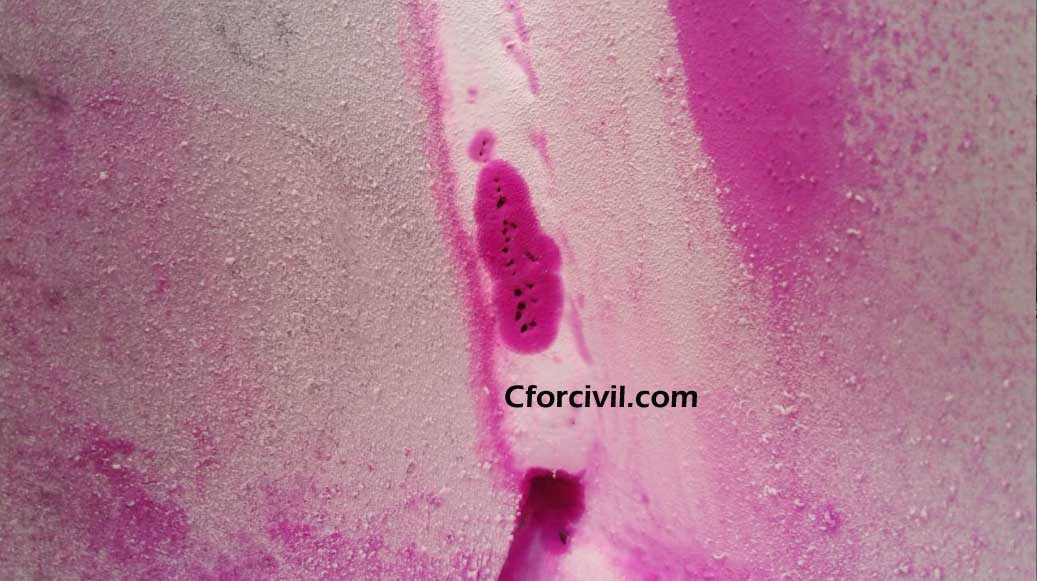
Dye Penetration Testing (DPT) is a test uses to identify the discontinuities in welding joints in PEB members. And uses to detect the cracks, fractures, pinholes, porosity, potholes, in PEB members.
Dye Penetration Testing has many names like,
- The Liquid Penetrate Inspection
- The Penetration Testing
It is a simple test. And a easy test to identify the discontinuities in welding joints. And to detect the cracks, fractures, pinholes, porosity, potholes, in the PEB members. Using this method all the surface defects and the flaws are easily identify and rectify. This test carries out without difficulties. This is one of the oldest test for identification of the cracks, fractures, pinholes, porosity, potholes, in PEB members.
IDENTIFICATION OF FLAWS IN PEB USING DPT TEST PROCEDURES
The Inception starts after a minimum time period of ten minutes. And not later than 60 minutes after application of the developer. This evaluation carries out in a dark environment.
It is clearly visible on to the surface of PEB Members. Now the discontinuities in welding joints identifies. Some of the false indications like machine marks and scratches, etc are not consider as major faults.
These indications are some of the proof for mechanical errors in welding.
Some of the major indications are consider as major flaws and as follows,
- Crack indications more than 2 MM .
- The crack length more than 3 times its own size.
- Round and oval type cracks more-than its width.


Leave a Reply